
Ever find yourself throwing away bananas because they’re too ripe to peel and eat? Stop! This recipe is a perfect way to use up black bananas. Pressure Cooker Banana Cheesecake is really easy to make and is sure to delight any banana lover.


Pressure Cooker Banana Cheesecake
My Mom had a little accident recently. I decided to try to cheer her a little by making her omething with bananas, one of her favorite flavors. I had a few bananas that were too ripe to just peel and eat. My oldest actually tried to throw them away after I’d decided to save them for use in this cheesecake and I had to literally yell to save them from winding up in the garbage. This recipe is a perfect way to use up black bananas. Banana Cheesecake brings a sweet and fruity flavor to a classic dessert. The cinnamon goes perfectly with the bananas. This banana cheesecake is very moist, rich and heavy, and it has a texture to it as well. Pressure Cooker Banana Cheesecake is really easy to make and is sure to delight any banana lover.
Equipment Needed
- electric pressure cooker (I used a 6 qt Mealthy Multipot)
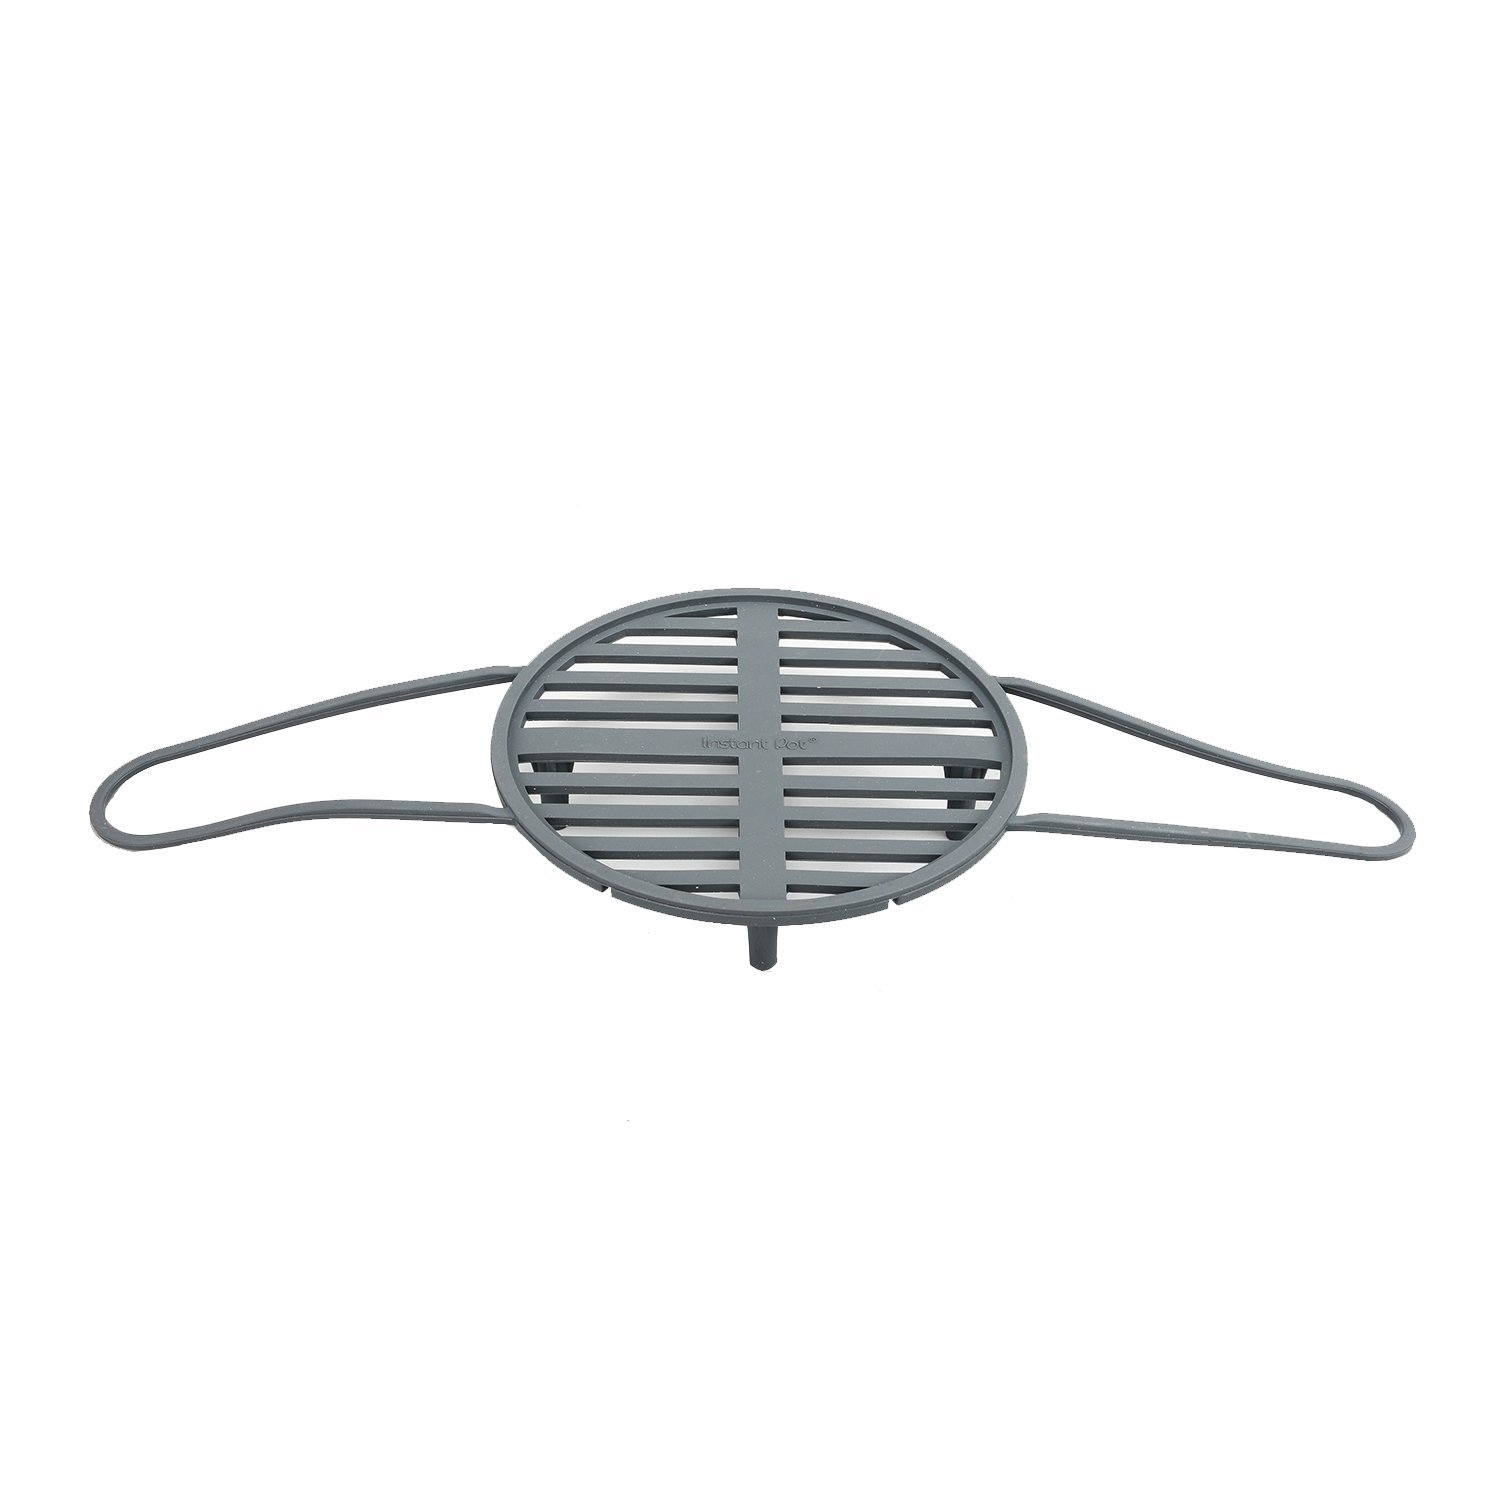
- silicone trivet with handles
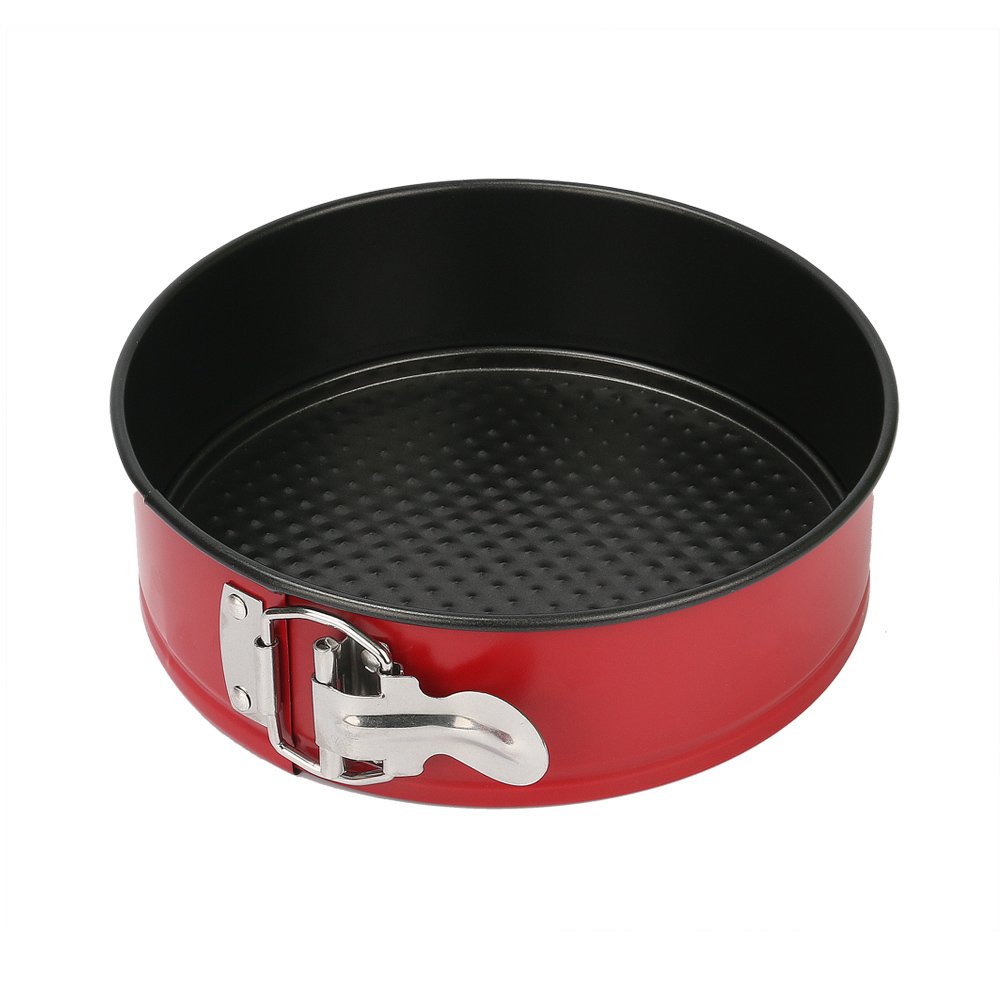
- 6″ springform pan
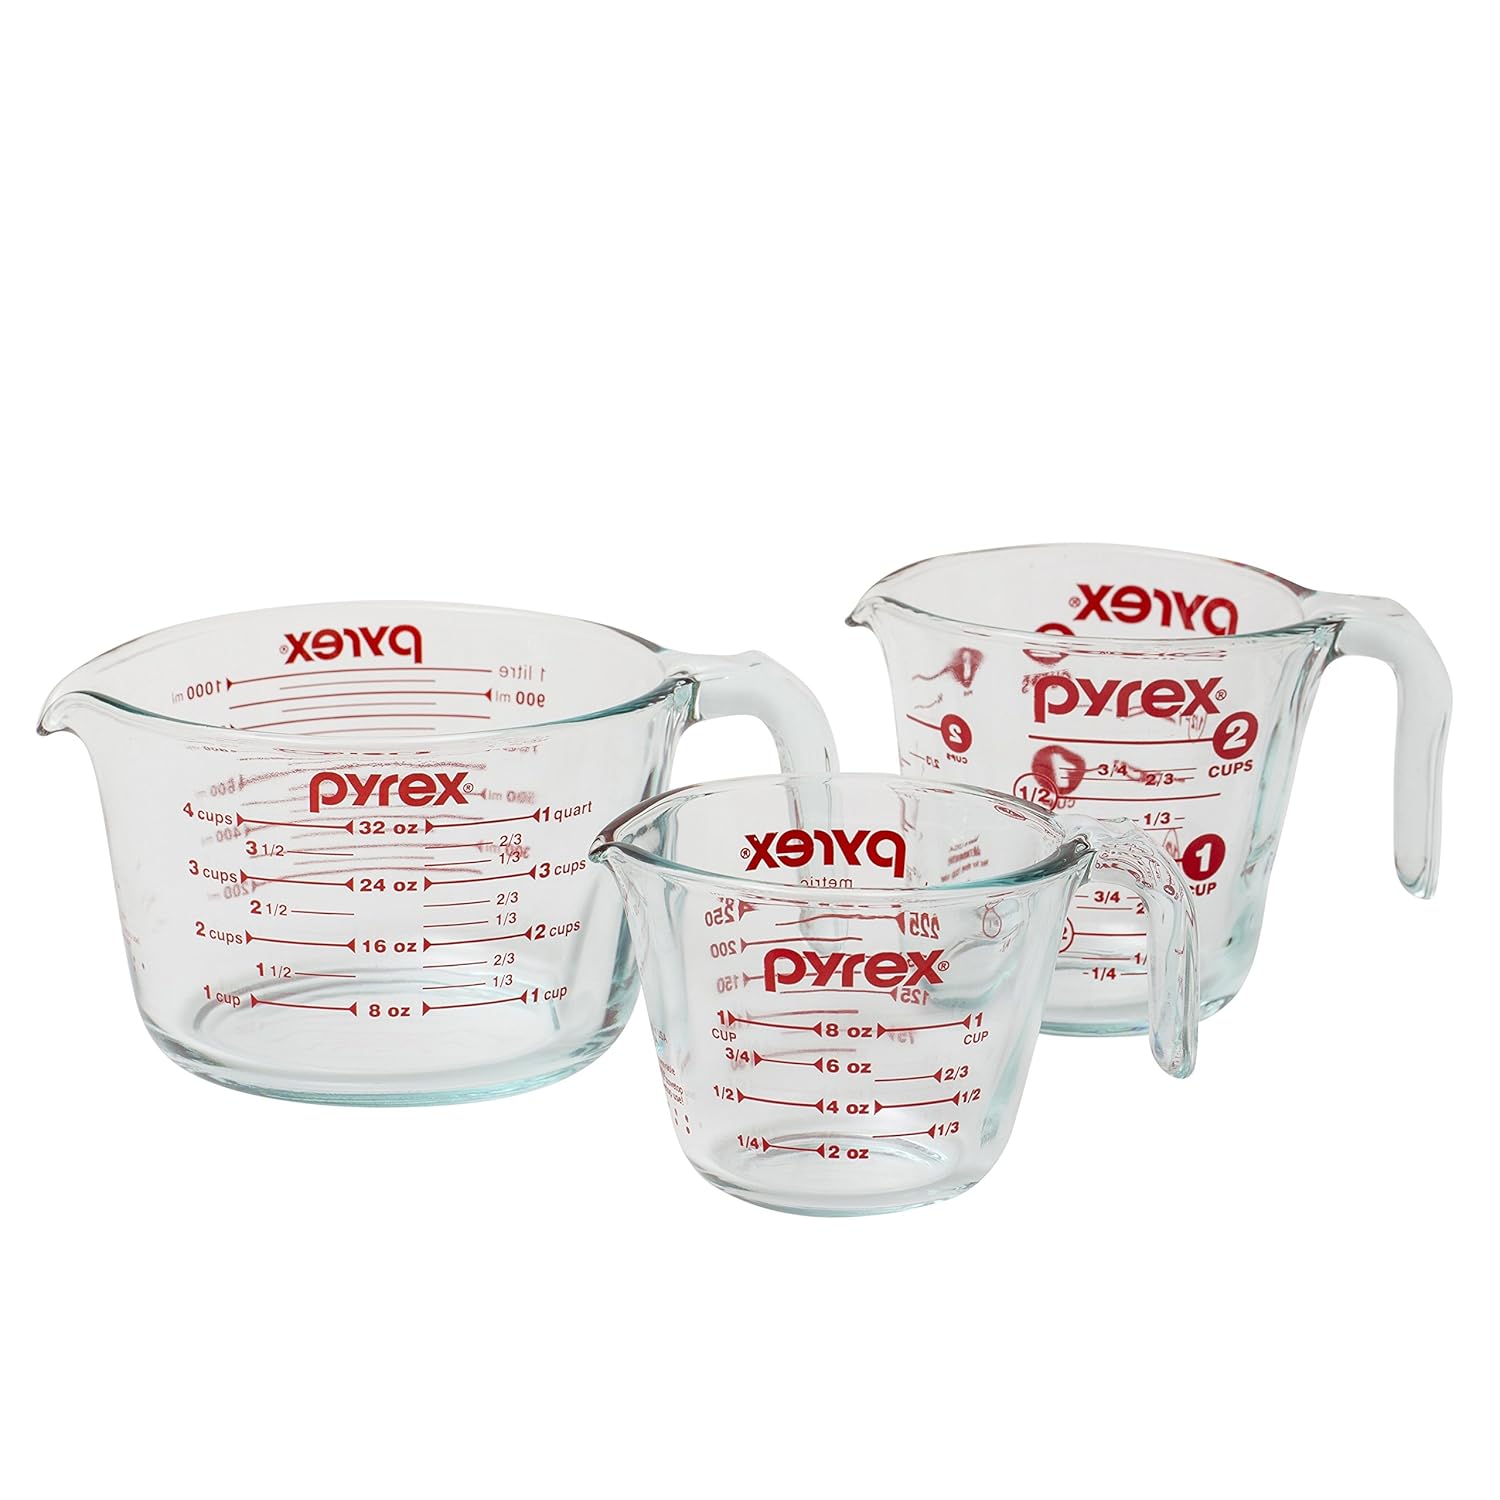
- measuring cups
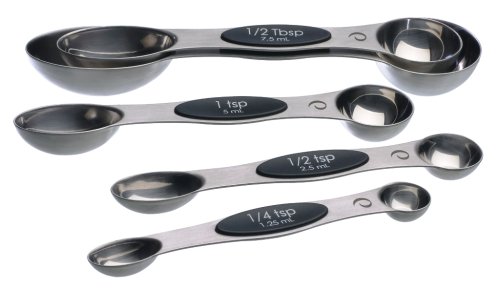
- measuring spoons
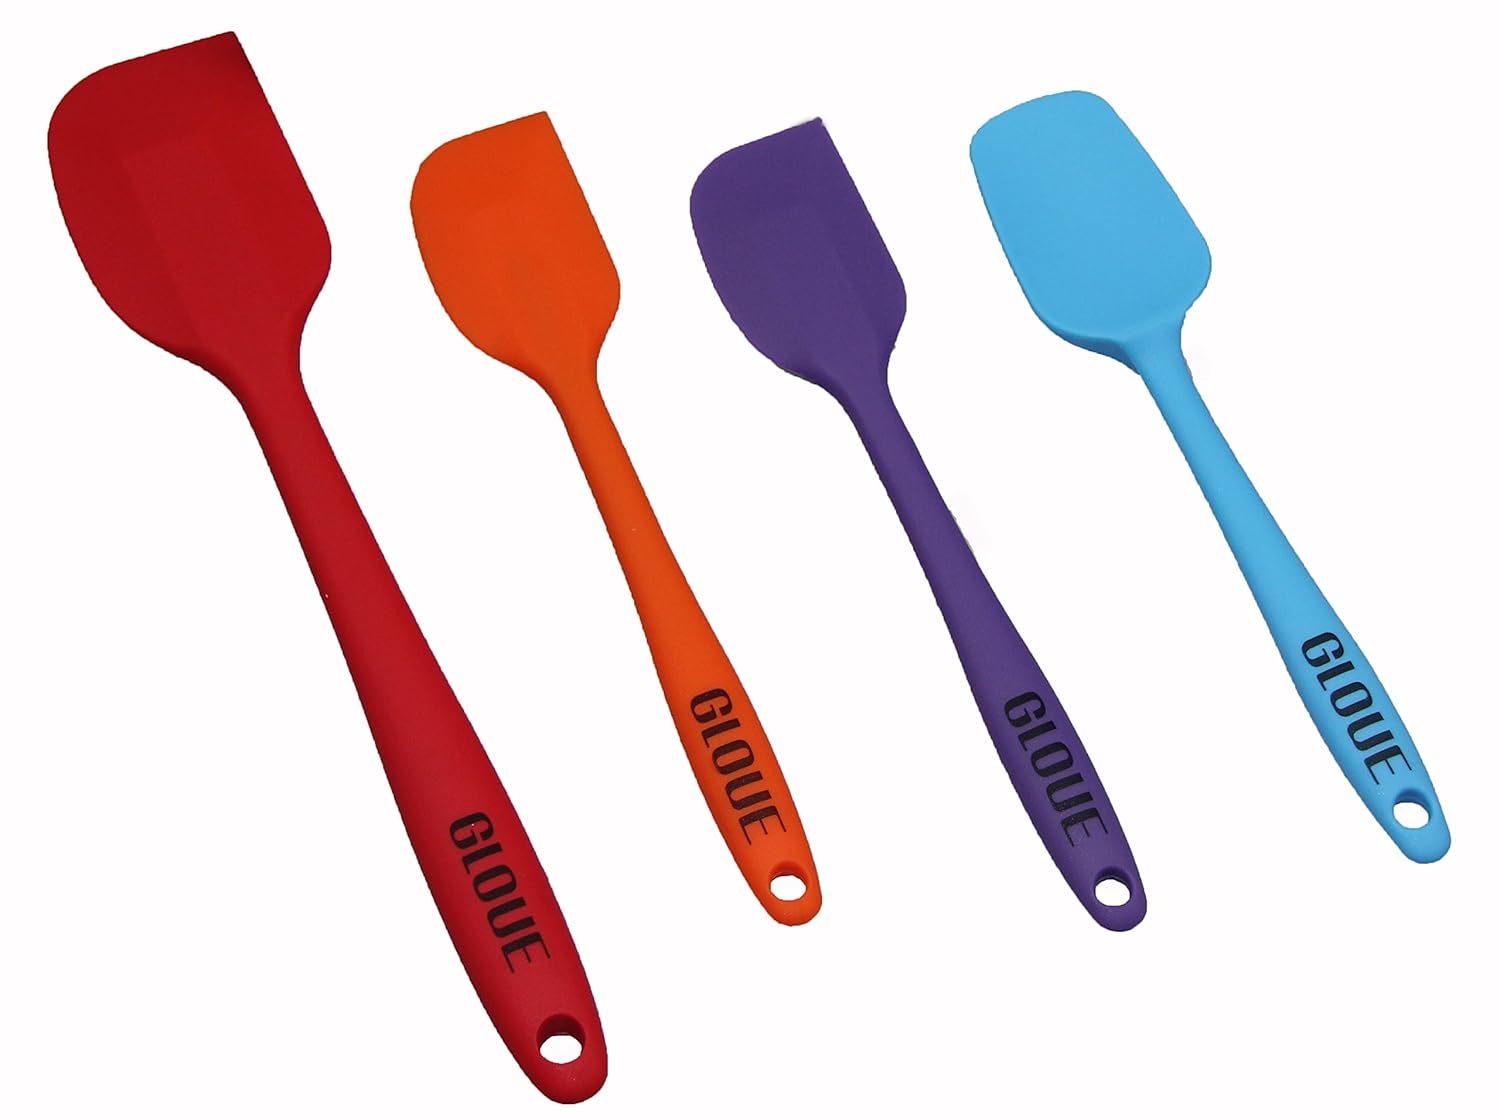
- silicone spatula
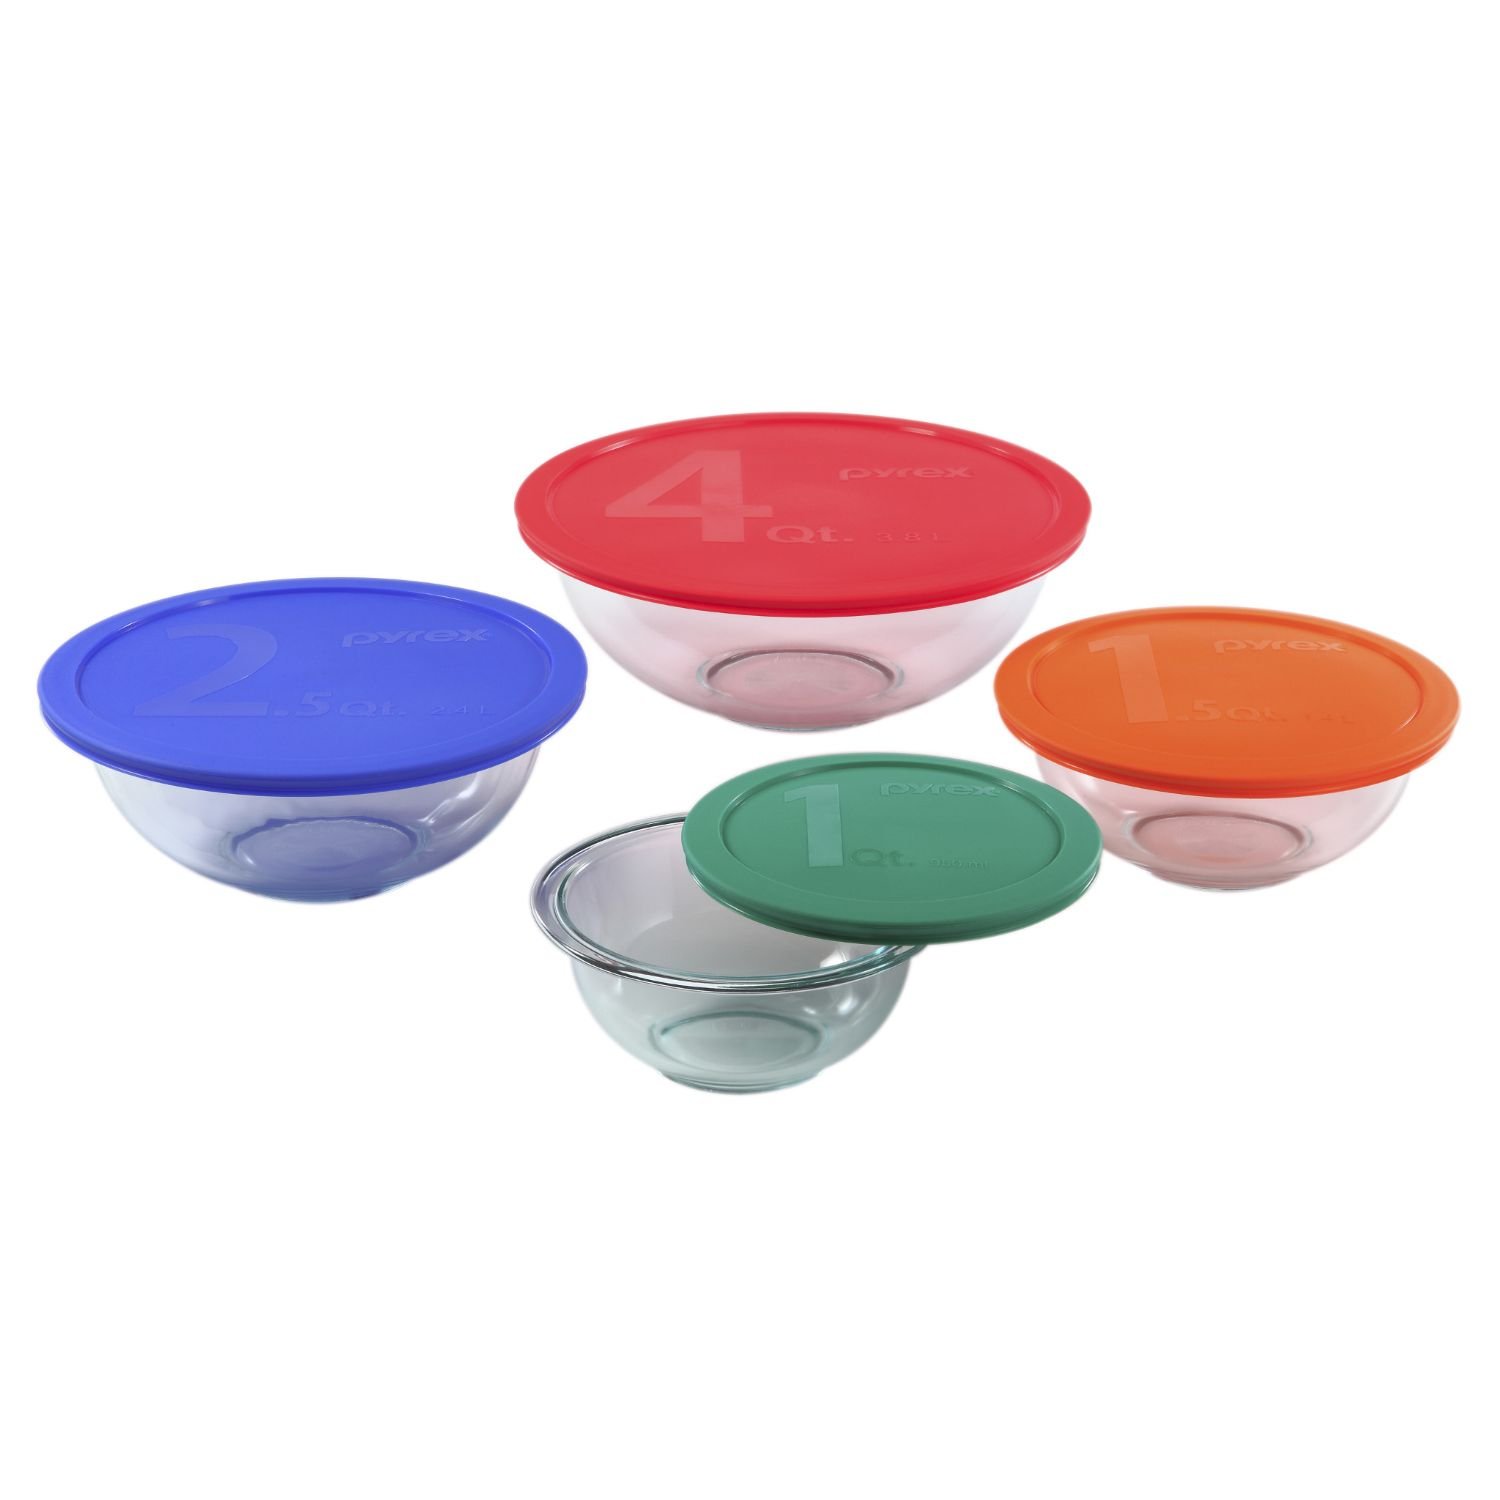
- mixing bowls
- meat tenderizer
Mealthy MultiPot 6-Qt 9-in-1 Programmable Pressure Cooker MCIRCO 7″ Non-stick Springform PanPyrex 8-Piece Smart Essentials Bowl SetPyrex 3-Piece Glass Measuring Cup SetStainless Magnetic Measuring SpoonsElectric Pressure Cooker Silicone Steam RackGLOUE 4-Piece Silicone Spatula SetOXO Good Grips Meat Tenderizer


Ingredients
- 1 to 1.5 cups water (however much your pressure cooker manufacturer suggests as minimum amount of water in the pot)
Crust Ingredients
- 32 Nilla Wafer cookies
- 3 tbsp butter, melted
Cheesecake Ingredients
- 4 large ripe bananas
- 16 oz cream cheese, softened
- 1/2 cup white sugar
- 2 tbsp brown sugar
- 2 tsp flour
- 2 tsp cinnamon
- 3/4 tsp vanilla extract
- 2 eggs
- 1/4 cup heavy cream
- 1 tsp lemon juice
Topping
- whipped cream


Instructions
Start out by making the crust.
Place the 32 Nilla Wafer cookies into a ziplocbag and crush them using a meat tenderizer.
Pour the crumbled cookies into a small bowl.
Add the melted butter and mix until thoroughly combined.
Spray a 6″ springform pan with nonstick cooking spray.
Pour the cookie mixture into the pan, then flatten it and press firmly to the bottom of the pan.
Place the pan with the crust into the freezer for 15-20 minutes, during which time you will make the cheesecake filling.
Now it’s time to make the cheesecake filling.
Put the ripe bananas, brown sugar and lemon juice into a medium sized mixing bowl and combine them thoroughly.
Place the cream cheese, heavy cream, vanilla, eggs, sugar and flour into a large mixing bowl and combine thoroughly.
Add the banana mixture to the cream cheese mixture and combine thoroughly until it’s smooth.
Remove the pan with the crust from the freezer.
Pour the cheesecake filling on top of the crust.
Now it’s time to cook the cheesecake!
Pour the water into the bottom of the pot.
Cover the cheesecake with aluminum foil.
Place the cheesecake on top of the silicone trivet.
Place the trivet into the water in the bottom of the pot.
Close the lid and seal the pressure cooker.
Set the pressure cooker to cook on manual high pressure for 40 minutes.
Once the cooking cycle has ended, let the pressure release naturally for 20 minutes.
Remove the trivet from the pot.
Remove the foil from the top of the cheesecake, taking care that any condensation that collected on the foil doesn’t roll into the cheesecake.
Leave the cheesecake on the silicon trivet and allow it to cool for an hour.
Cover the pan with aluminum foil and place in the refrigerator to set overnight.
Remove the cheesecake from the pan.
Top the cheesecake with whipped cream when you’re ready to serve it.
Serve and enjoy!
If you like cheesecake, be sure to check out my other cheesecake recipes!
Cranberry Cheesecake
Homemade Apple Cheesecake
Lemon Vanilla Oreo Cheesecake
Oreo Cheesecake
Pumpkin Cheesecake
Reese’s Peanut Butter Cheesecake


Pressure Cooker Banana Cheesecake


Kathy
Thursday 9th of April 2020
I'm using a 6inch springform pan but this recipe almost made double cheesecake filling than it should have? Only half fit in the pan! It's in cooker now so I hope it turns out...
Carol
Thursday 30th of January 2020
I made this and it came out great, just 2 comments on the recipe - it doesn't say how much water to put in the Instant Pot or where/when to add the cinnamon that's listed in the ingredients. I guessed 1 cup water and added the cinnamon during the final blending of ingredients and it was fine. Thank you for posting this!
Valerie Gray, From Val's Kitchen
Sunday 22nd of March 2020
Yes 1 to 1.5 cups of water in the insert works. Thanks for pointing it out, I'll update the recipe now
Amanda
Friday 30th of August 2019
I don’t see where it says how much water to use? How much water goes in to the pot? Just a cup?
Valerie Gray, From Val's Kitchen
Sunday 22nd of March 2020
use 1-1.5 cups in the insert. The water winds up under the trivet holding the cheesecake.
Lynn
Sunday 2nd of June 2019
It’s in my IP as I write this. I have made a number of cheesecakes in my IP and all have been a success. I did add a little crushed vanilla wafers in the batter as I had some left over. Hope it doesn’t affect the finished cake. I did add two more minutes because my 6x4 springform pan was so full. Once it’s firmly set from the refrigerator I’ll garnish it with whipped cream and another sprinkle of crushed vanilla wafers - yum!
valmg
Wednesday 12th of June 2019
I hope you enjoyed it!
pat.
Monday 16th of April 2018
What a tasty treat--sweeter than sweet. Thanks.